Showing posts with label pipe stem. Show all posts

Sunday, May 15, 2011

Replacing a pipe stem

     This is a Wally Frank pipe that belonged to my uncle. I got it without a stem (or maybe I lost it.....) I had another pipe that also needed a stem, so I decided I should learn how to replace pipe stems rather then send them out for repair, which would have been the smart thing to do. 
     It ends up, you don't just order a new stem and slap it on; they have to be fitted to the pipe using a lathe, or a "pipe stem tenon turner". I happen to have a small Taig metal lathe which I got a few years ago for another project/obsession (after woodworking and before ceramics in the hobby timeline). With the help of Woody and Sasquatch from the Pipe Smokers Forum (a very nice and helpful group of folks), I got enough encouragement and advice to proceed.
     If you own a lathe, you probably know much more than I do. The first stem I tried went flying across the room, from the dining room table to the living room where my wife was sitting (I was not using a dead center and had the lathe running too fast). Remember safety first! I can't tell you not to try this at home, especially if you don't know what your doing, because that what I did, but if you hurt yourself I told you so!
Don't let this happen to you! I wasn't using that part of brain anyway, but you might!


Wally Frank pipe with the replacement stem blank. The first pencil mark (hard to see) is the end/beginning point for the new tenon, the second pencil mark is where the new shoulder will begin and the last mark is where the headstock jaws will grip the bit. 
I got the stem blanks from Tim West (owner of J. H. Lowe & Co.). Tim was very helpful on the phone and helped me pick the correct blanks, offered some advice on turning and fitting the stems, and even threw in a few old stems for me to practice on. I assumed that I didn't need to practice, but after the first good stem flew across the house and broke, I chucked up one of the practice stems Tim astutely sent. I needed two stems, but ordered three figuring there would be some mishaps along the way (I thank Woody for suggesting that I order extras).


The stem blanks are fairly smooth but have some mold lines that need to be sanded off.

I used a 3-jaw self-centering chuck to grip the bit end. The taper on the stem did not provide enough surface area for the jaws so I ended up wrapping some electrical tape on the bit end. This was not ideal, Woody and Sasquatch offered some better solutions to chucking up stems (my cat chucks of stems sometimes too) which I will try next time...


To get the new bit positioned I placed a drill bit in the tailstock chuck that had the same diameter as the airway, the tenon end could then be inserted onto the bit and held parallel to the lathe bed in the correct and advanced into the 3-jaw chuck.


Drill bit in tailstock chuck to align stem.

Getting ready to place the stem blank into the 3-jaw chuck of the headstock.

Drill bit used for alignment is removed after chucking the stem and replaced with a dead center on the tenon end.

Turning the stem shoulder.


Getting ready 'part' the stem.

First fitting of the stem, note that I misaligned the stem in the chuck so that the center line of the bit is below the center of the pipe shank.
At this point there was much filing and sanding to finish shaping the bit. This including trying to re-taper the bottom of the stem shoulder to match the top (had I properly centered the bit in the lathe it would have remained symmetric). After getting a rough fit I lightly sanded the pipe shank to make a smooth transition with the stem and finally gave the whole pipe a light sanding. I didn't get a picture, but sanding the pipe shank removed some of the wood stain so it was now time for a dye job.

Evidently leather dyes are the "recommend" pipe stains. One of my dogs who shall remain nameless to protect his identity (Jake) had chewed a bit off one of my shoes. Being cheap, and believing things should be fixed not trashed, I took the mauled shoe to our local cobbler. "let the cobbler stick to his last" hey, I should follow that advice. Actually I the shoe took it there over a year ago and have been feeling guilty about not picking it up; I'm glad he still had it. The urgent need for leather dye was the catalyst for geting back to the shop, thanks Jake! just don't chew anymore shoes! The repair and the leather dye were about the same price for a total of 10 and change.


Leather dye and repaired shoe (The repair was on the area where the "tongue" meets the opening).

The dye comes with a dauber, I just spread the dye around and wiped it off with a paper towel.

After applying the dye and giving it some time to dry I applied a coat of carnauba wax, All done! OK, the fit is not perfect and there are some slight asymmetries to the stem, but it was my first attempt...
Finished stem and pipe sitting next to the broken stem termed missile.


The second pipe I fitted a stem to is a Comoy's Guildhall Modern 603. There were some issues when bending the stem, I think I got it too hot and bubbled some of the vulcanite.... if you look at the bend you can see some pitting, hopefully it will sand out.

Guildhall Modern 603 by Comoy's, note the pitting at the bend.


Monday, April 11, 2011

Fixing up an old pipe and stem

The pipe is a 1970-80's a bent saddle Guildhall 215 by Comoy's  (if Comoy's shapes and number correspond to Guildhall's ?)

 Actually, except for the stem, the pipe is in fairly good shape.

This post is not really intended as a "how to", but rather what I did. There are DIYS on the internet, search for estate pipe restoration etc.. REMEMBER, different pipes are made from different materials; and things I do to this pipe might damage yours.  So read at your own risk!!  All these pictures can be enlarged by clicking on them a few times. Sorry the images are dark, they looked good on my laptop....

There is a small dent under the rim, but we are not going to worry about that.

Note the green stem.

Close up showing tar on the bowl's rim.

The inside: that might be a cobweb?


Makers stamp and Guildhall three bars.


Bleaching the Stem

     The (vulcanite/ebonite/hard rubber) stem is removed and placed it in a solution of 50:50 bleach/water. Besides not wanting a green pipe stem, the greenish color (oxidized sulfur) tastes VERY BAD. Olive oil, or something like that, may mask its presence slightly, but unless removed, the stem will taste of sulfur which is used to vulcanize the rubber. The bleach removes much of the oxidized portions and does not seem to attack the good rubber. Again, not all stems are made of ebonite and I cannot vouch for what bleach might do to other stems (like with many cleaning agents "test on an inconspicuous area first". People recommend protecting any logos present on the stem with Vaseline as a barrier to the bleach. I did not do this on the Guildhall, because the logo is actually metal (the bleach could hurt the metal too, but I didn't worry about that).

Sitting in bleach, note the bubbles! 

While the stem is bleaching I worked on removing tar from the bowl's rim.


I used q-tips moistened with water. As you can see the q-tips removed a lot of the tar. I found that stubborn areas could be attacked using the "shoulder" of the q-tip (where there is little cotton), allowing for more vigorous scrubbing.

Most of the tar came off the upper rim,  I did not try cleaning the bevel, figuring it was going to get all gummed up again anyway (it's a pipe).
The next step was cleaning out the shank, mortis, and draught hole/tube. Q-tips and bristled pipe cleaners moistened with alcohol slowly remove much of the residues.... This pipe has a "sump",  I assume to collect moisture, this area needed the most attention. I will install a small sump pump in there before smoking it.

Using a pair of X-ray glasses held over the camera lens, I was able to photograph the inside of the pipe to illustrate the "sump" and draught channel.  When I drew this I wasn't looking at the pipe, but this is close.


As you can see I went though a lot of q-tips. The flashlight is great for illuminating the interior of the mortise and shank to check the cleaning progress. Pipe cleaners doubled over were effective at scrubbing the walls of the shank  and sump. Single cleaners were used for the draught tube. The scissors were used to remove gunked up ends of the pipe cleaners to expose a fresh part of the cleaner (waste not want not).
More bubbles in the bleach.


The stem removed from the bleach and thoroughly rinsed. Note the dull surface, but much of the green is gone.

After the bleach, some discolored areas remain; these will be mechanically removed later.
After the bleach treatment, the sanding begins. I started with 1500 grit wet/dry sandpaper. A coarser grit might have been more effective, but I didn't have any, and was too lazy to go out and get more... If I intended to remove all the tooth marks, it would have been worth the trip. Next time I will try Micromesh papers recommended by Mister Moo.  I would be careful using anything coarser than 1500 for the  stem abutting the briar, if too much material, or the surface is beveled, a noticeable gap will appear between the stem and pipe (I've done this). Not much to the sanding, I just tear off bits of sandpaper, wet them in a bowl of water and carefully sand the surface dipping the stem and paper in the water frequently. Sandpaper, especially finer grits, dulls quickly so fresh sheets will speed things along. Contours near the shank and the lip are the hardest to get to with the paper.
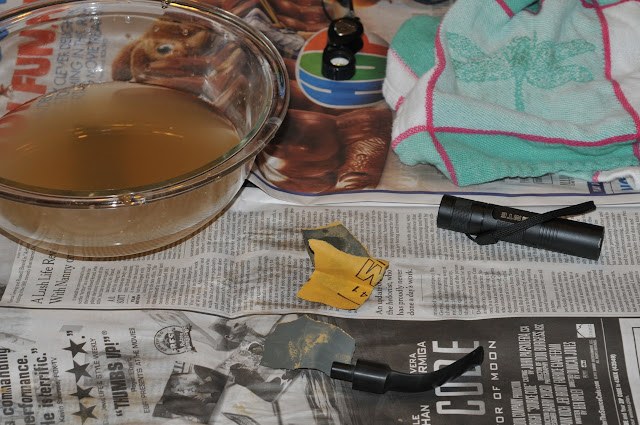

To check the progress I rinse the stem in clean water and dry it. While wet, the stem looks shinny no matter what's going on. Before moving on to a finer grit make sure all areas of the stem have an even appearance. In this case, I found some areas that needed more work, especially near the lip and the shoulder where the flattened part of the stem meets the round part, so I went back to the 1500 grit for a 2nd round.

This is still the 1500 grit, note that the sandpaper cannot get into the tooth marks. With heaver paper I could have just sanded them out; but I figure that I will just add new marks anyway,and there is no sense in thinning (weakening) the stem too much. The final polishing will make the divots less noticeable anyway.

I have gone right from the 1500 grit paper to Brebbia pipe stem polish in the past, but I thought I would continue with some finner paper in this case.

After the 1500 grit I went on to some 2500 paper.

Result of the finer grit paper. Things are starting to look good. The stem would be usable at this point, and with a coating of olive oil (some people use it to polish and protect their stems), it would look great.

The shoulder is not perfect, but final polishing will take care of that.

After the finer grit paper comes the final polish (abrasive, not just a coating). Toothpaste and other things seem to work ok, but I have had very good luck with Brebbia Pipe Stem Polish. The small tube pictured below has lasted through a dozen pipe stems and is not empty yet.  I use only small amounts on a soft cloth for the large areas, and q-tips for tight or recessed areas like the lip or tooth marks.
Stem polishing stuff. Note the black residue on the while cloth, this is from the metal logo on the stem.


The final results!

You can see a few tooth marks under the lip, but it still looks good to me.

While polishing the stem, the bowl was getting the so called "salt and alcohol treatment". Just google that and you will get lots of "how-tos". I used cotton instead of salt, but have no real preference and have used both methods.


With all that done, the pipe is reassembled. The briar was cleaned with an alcohol soaked paper towel. I have always been told (ok read) that alcohol will destroy the finish. But, I also discovered that alcohol seems to have little effect on real carnauba wax... So your results may vary, different pipes may react differently (I am not suggesting that your pipes finish will not be destroyed). The alcohol removed some dirt, and left a dull surface. But, that dull surface was brought back up when buffed with a soft cloth (the t-shirt I was wearing). My GUESS, is that skin oils and what not build up on the pipe and give it a sheen over time, when removed the surface looks dull, buffing at this point can therefor can brighten up the carnauba wax that was underneath the gunk.

Results of the hand buffing.

At this point the pipe looked good and was really ready to go, but I just got a bar of carnauba wax and have a buffing wheel so I gave it a final wax. Its hard to tell from the photo, but the wax really improved the shine on the bowl (I only waxed the stem near the briar). That being said, is also looked good with just a hand buffing so people without buffers need not despair.
All done!


Thursday, April 7, 2011

Pipe Stem Polishing Test

All photos can be enlarged (click once to open in a new window and then again to enlarge to full size)

These are more thoughts than conclusions, this page is not really intended to be a how to.....


Green oxidized pipe stem before any treatment.


This is  a VERY thin slice (thin section)  of ebonite photographed under a microscope. The color here is accurate, this is not a white balance issue. Only when the section is very thin does the  reddish-yellow color appear.

I thought I would try testing some different polishing methods to see how they compared.  To do this, I used a 1500 grit wet/dry piece of sandpaper (wet) to remove all the oxidation on one side of the stem. All the scratches were kept parallel to the length of the pipe stem.  3 pieces of clear tape were placed on the surface to separate the test patches. Care was taken that all the polishing with the test compounds was made perpendicular to sanding marks so there is no confusion over the scratch source. After polishing the tape was removed and the surface cleaned with soap and water followed by alcohol to make sure no residues remained. The photos were taken with light shining on a white card placed next to the stem providing an even indirect light. The bottom photo, at a slightly different scale, has some nose oil applied (didn't have olive oil on hand) to the lower half. BEFORE Making too many conclusions, look at the close-ups further down...

It seems that the Magic Eraser did the best job at removing the scratches left from the sandpaper, but the Brebbia polish resulted in the best looking surface. The toothpaste actually did a fairly good job. The oil, although fading with time, made the surface look good, actually better than than this photo would suggest, but it is still a temporary finish (oiled surface begins just under the white text on the bottom photo).  I did all this fairly quickly, the Brebbia really does remove all the larger scratches given a little time and elbow grease; it would go faster had finished with finer sandpaper. I use the Brebbia pipe stem polish on my pipes and like the results, its not really expensive, and the small tube is not empty after going through a dozen pipes....


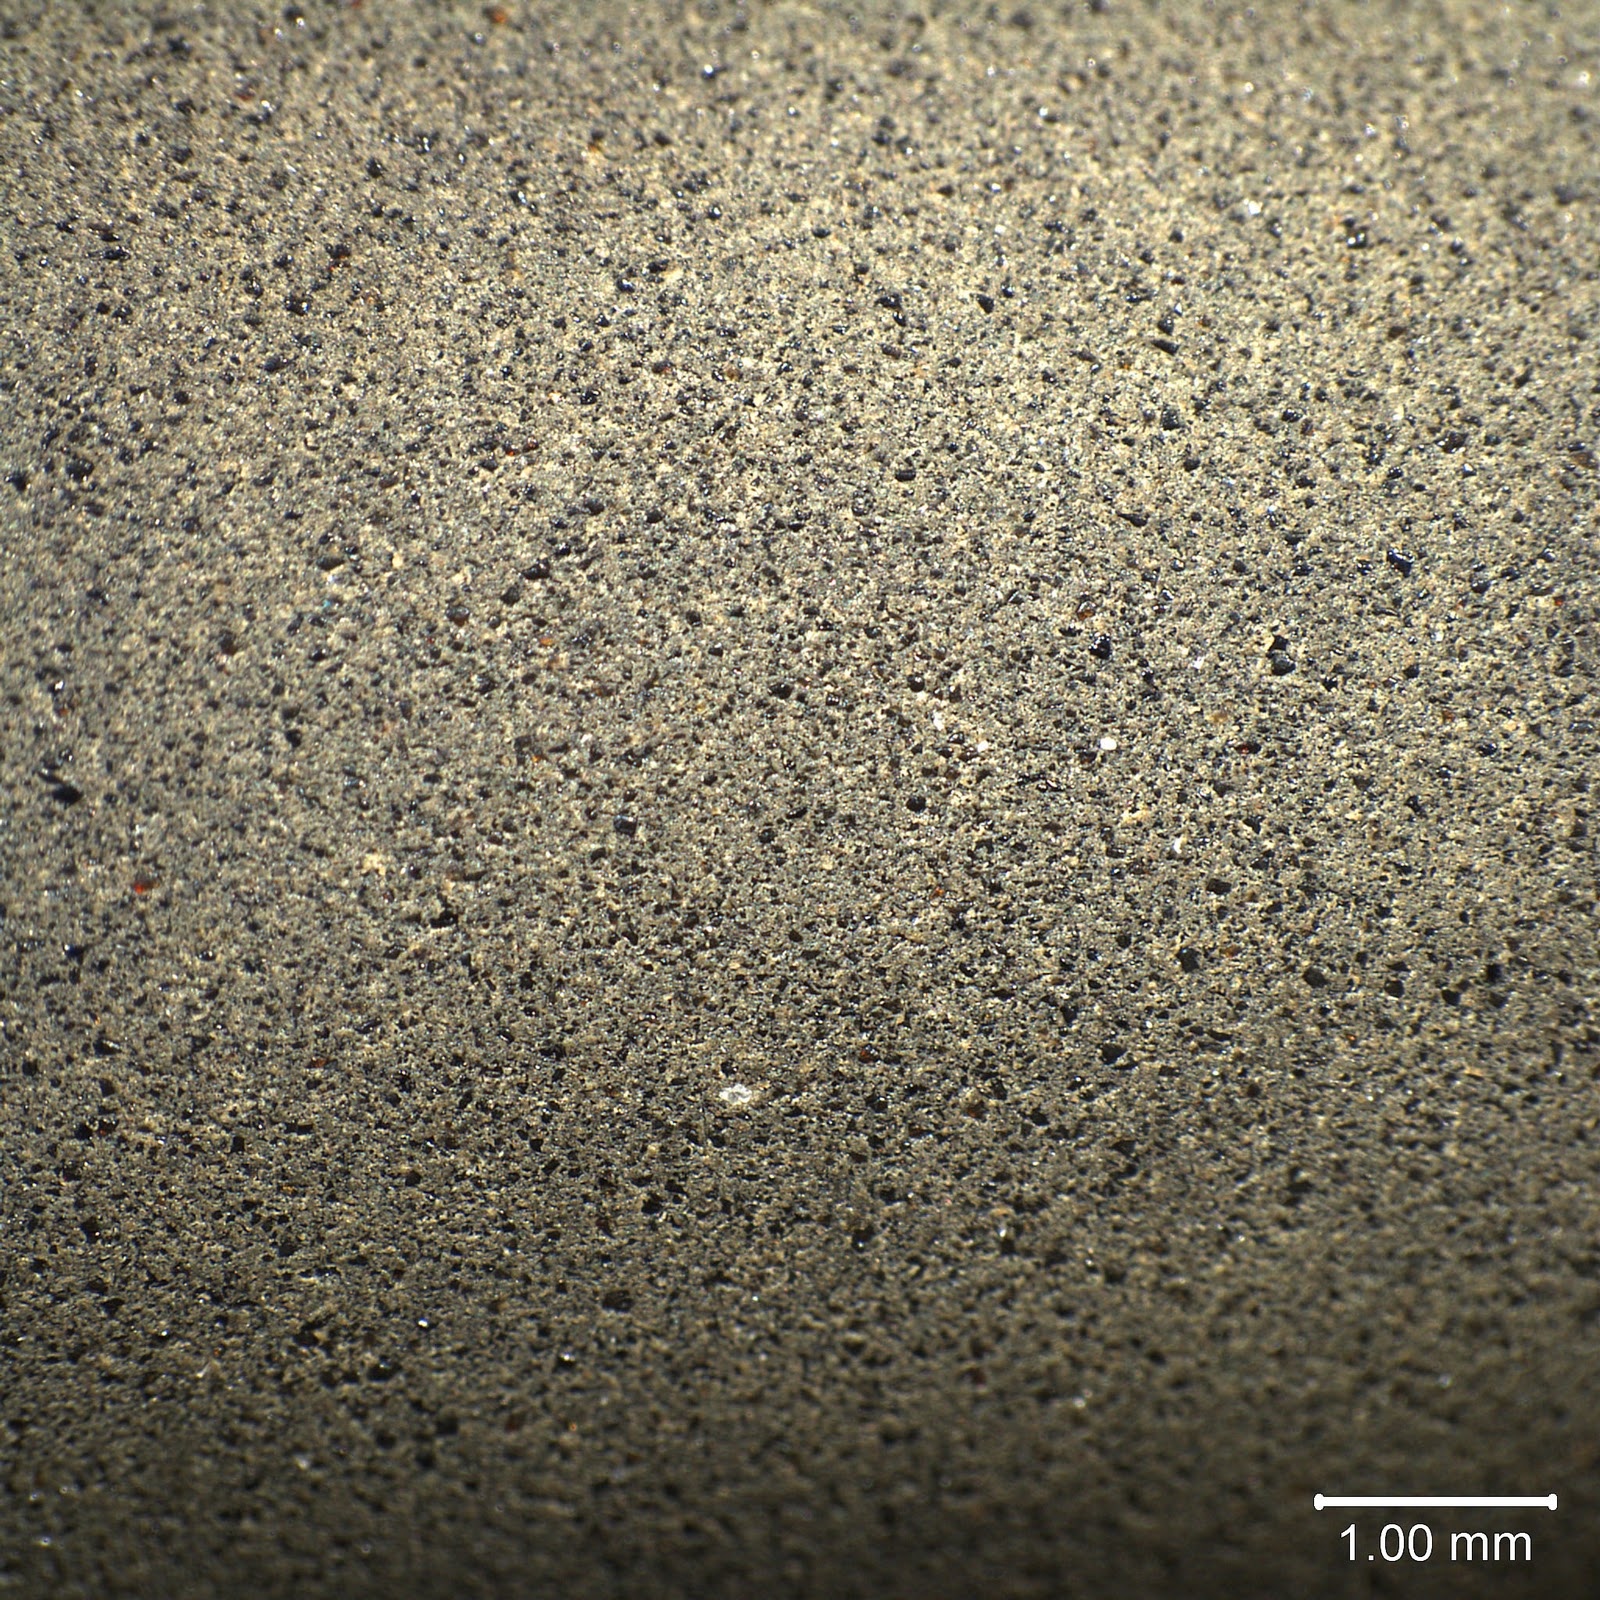
Bar Keeper's Friend on the right, 1500 grit left. Note that the tooth marks were not sanded completely out, with a heaver sandpaper they could have been removed, ignore them for this test, but note that the Bar Keepers Friend did round them and make them less noticeable.

Toothpaste on the left, 1500 grit on the left. I used Colgate "cavity protection" different pastes have different kinds and sizes of abrasives to results may differ. The toothpaste finish really was not that bad. 
Brebbia pipe stem polish on the left, 1500 grit on the right. Again, ignore the pits, those could have been removed with more sanding. Brebbia really did produce the best finish.


Mr Clean Magic Eraser on the left, 1500 grit on the right. The eraser did the best job removing the scratches from the sandpaper, but was not as shiny as the Brebbia or toothpaste. Also, you can't see it here, but it did create some relief on the surface because it seemed to remove the ebonite matrix faster than the ebonite particles... For the pipe stems I cleaned I used the 1500 grit paper, then the magic eraser, followed by the Brebbia, the results were very good, but I might in the future use the 1500 grit, followed by a finer paper and then the Brebbia.....


The left half was soaked in undiluted bleach for about two hours. Note that the bleach removed the green (oxidized sulfur ?) but created a surface of high relief. This roughness needs to be removed with sandpaper. I'm note sure if the bleach is worth it or not, as some sanding must take place and the oxidized stuff will therefor get removed either-way.